





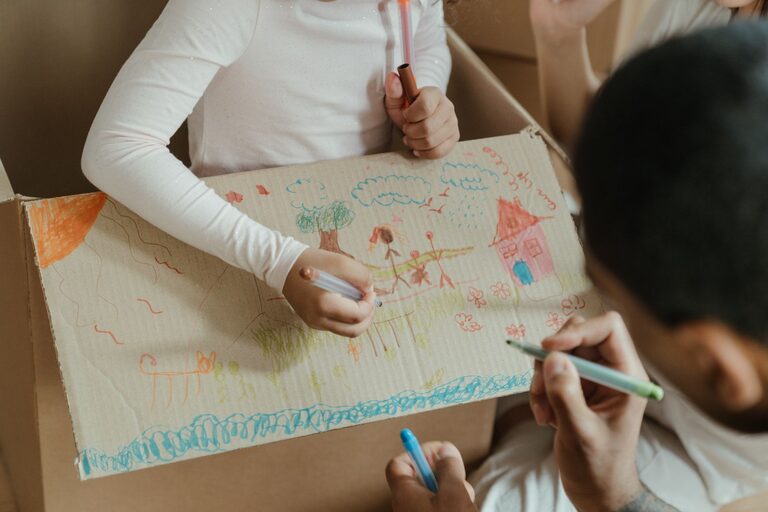
Every parent knows the joy that comes with seeing their child’s creativity flourish, especially when it’s expressed through artwork. From finger paintings to school projects, kids’ art can quickly pile up, turning the refrigerator door or kitchen counters into an overcrowded gallery. While it’s wonderful to celebrate your child’s creativity, keeping all their masterpieces can become overwhelming without a plan. The good news is that organizing kids’ art doesn’t have to be stressful or complicated. Here are practical tips to keep your child’s artwork neat, accessible, and cherished for years to come.
Why Organize Kids’ Artwork?
Organizing children’s art helps preserve memories, reduces clutter, and teaches kids about caring for their belongings. It also gives you a chance to regularly revisit and celebrate their creative progress. Plus, a tidy space inspires more creativity and makes it easier to share favorite pieces with family and friends.
1. Set Up a Dedicated Art Space
Having a designated area for creating and storing art encourages organization from the start.
– Create an Art Station: Use a table or desk with storage bins nearby for supplies and current projects.
– Display Zones: Allocate a wall, corkboard, or string with clips for a rotating gallery of recent artwork.
– Accessible Storage: Keep baskets or containers labeled for tools like crayons, markers, scissors, and glue.
2. Use Functional Storage Solutions
Choosing the right storage solutions can simplify the process of organizing art while keeping it safe and easy to review.
Flat Storage Options
– Portfolio Folders: Large folders designed for artwork can store multiple pieces flat without folding or damage.
– Expandable File Organizer: A great way to sort artwork by date, theme, or child.
– Under-Bed Storage Boxes: These slim bins offer a discreet way to keep art collections safe and out of sight.
Display and Storage Combination
– Art Frames with Storage: Frames that open allow you to display current favorites and store additional pieces inside.
– Clipboards on Walls: Hang several clipboards to hold and easily swap out art.
– Photo Books: Digitize artwork and create annual photo books—great for preserving memories without physical clutter.
3. Regularly Curate and Rotate Art
Deciding which pieces to keep can be difficult, but regularly curating artwork helps maintain an organized system.
– Schedule Monthly or Seasonal Reviews: Sit down with your child to pick favorites and decide what to keep, gift, recycle, or photograph.
– Set Limits: Define a specific amount of space for saved artwork to prevent overflow.
– Teach Decision-Making: Encourage your child to reflect on their work and choose meaningful pieces.
4. Digitize Artwork to Save Space
If physical storage is limited, digitizing artwork offers a creative solution.
– Photograph or Scan: Capture high-quality images of drawings, paintings, and crafts.
– Organize Digitally: Use folders on your computer or cloud storage labeled by date, age, or theme.
– Create Online Galleries or Slideshows: Share digital collections with family or enjoy them on your devices.
– Print Favorites: Select a few standout pieces to print in a custom book or collage.
5. Creative Ways to Display Kids’ Art
Celebrating your child’s creativity motivates them and adds a personal touch to your home.
– Gallery Wall: Arrange framed or unframed pieces together in a dedicated spot.
– Art Strings: Hang a length of string or wire and use clothespins to clip art—easy to update regularly.
– Clipboards or Magnetic Boards: Simple and flexible display options that allow frequent rotations.
– Incorporate Art into Functional Items: Laminate artworks to use as placemats or create wrapping paper from drawings.
6. Gift and Share Artwork
Consider involving friends and family in appreciating your child’s creations.
– Cards and Gifts: Turn art into greeting cards or gift tags for special occasions.
– Art Swap: Organize small exchanges with other kids or relatives to share creativity.
– Charity Donations: Some organizations accept children’s artwork for fundraising or community projects.
7. Keep Supplies Organized
Tidy art supplies contribute to a smoother art-making process and reduce mess.
– Clear Containers: Transparent bins or jars make it easy to find materials.
– Label Everything: Use labels for different supplies to help kids put things back in the correct place.
– Portable Caddies: Use small containers to move supplies between rooms or outdoors.
Conclusion
Keeping kids’ art organized is about finding a balance between preserving special memories and managing clutter. By setting up dedicated spaces, using smart storage solutions, regularly curating collections, and embracing digital options, you can enjoy your child’s creativity without feeling overwhelmed. Most importantly, involving your child in this process teaches valuable lessons about organization and appreciation for their own work. With these tips, your home can be both a creative haven and a well-organized space for cherished masterpieces.